Software Architect
Configuring Azure Active Directory and Azure AD Domain Services
In our previous post, we configured Azure Windows Virtual Desktop and mentioned that WVD has several requisites to make things work. One of them is Azure Active Directory and this will be the focus of our post. You get an Azure AD when you open an Azure account but there is more to it than just that.
Azure Active Directory (AD)
Microsoft Azure Active Directory is a comprehensive identity and access management cloud solution that combines core directory services, application access management, and advanced identity protection.
There are four editions of Azure AD:
- Free (Free)
- Office 365 Apps (Included with any edition of Microsoft 365 E1, E3, E5, and F3)
- Premium P1 ($6 per User per Month)
- Premium P2 ($9 per User per Month)
The Free edition is the one assigned with any online service such as Azure, Dynamics 365, Intune, or Power Platform. It has many features, including single sign-on (SSO), federated authentication, user and group management; device registration, Azure AD Connect sync (particularly important for our case with WVD), self-service password change, and multi-factor authentication (MFA) among others. The free edition has a limit of 50,000 objects in the directory.
The next edition tier is Office 365 Apps. This is built on top of the free features and eliminates the object limit. It also allows device write-back for full, two-way synchronization between on-premises directories and Azure, including a service level agreement (SLA).
The next two editions are premium levels that have a lot more features. Both offer Azure AD Join, advanced security and usage reports, password protection, advanced group access management, and conditional access (including Sharepoint). P2 edition adds Identity Protection and Identity Governance.
Now that you have Azure AD up and running, you need to be able to have domain-joined virtual machines for your host pool. This is part of the requirements for the WVD infrastructure. Specifically, the Azure virtual machines you create for Windows Virtual Desktop must be:
- Standard domain-joined or Hybrid AD-joined. Virtual machines can't be Azure AD-joined.
- Running one of the following supported OS images.
There are two ways to achieve this requirement:
- Your organization already has a Windows Active Directory on-premises. Use Azure AD Connect to synchronize the user accounts and groups to Azure AD. Then:
- Users are authenticated against Windows Server AD.
- WVD VMs are joined to the Windows Server AD domain or an Azure AD Domain Services domain.
- Your organization does not have a Windows Active Directory on-premises. Use Azure Active Directory Domain Services to create your domain in Azure. Users are authenticated against Azure AD DS and WVD VMs are joined to the Azure AD DS domain.
Azure Active Directory Domain Services
We will focus our attention on creating a domain using Azure AD DS. From Microsoft's documentation:
"Azure Active Directory Domain Services (AD DS) provides managed domain services such as domain join, group policy, lightweight directory access protocol (LDAP), and Kerberos / NTLM authentication. You use these domain services without the need to deploy, manage, and patch domain controllers (DCs) in the cloud."
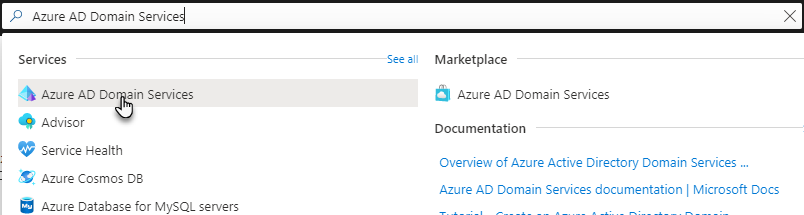
To start creating your domain in Azure, search for Azure AD Domain Services and click on it in the results list as shown below:
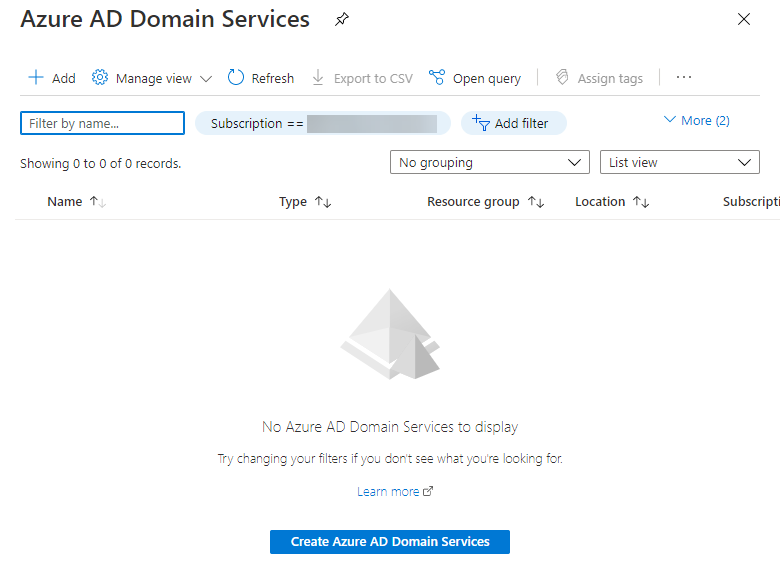
Next, you are taken to a page with the list of domains. Click either the "+ Add" menu option at the top of the page or the blue button that says, "Create Azure AD Domain Services" in the middle of the page.
This next page is the first step in creating the domain. Select the Subscription and Resource group where you want to create the domain.
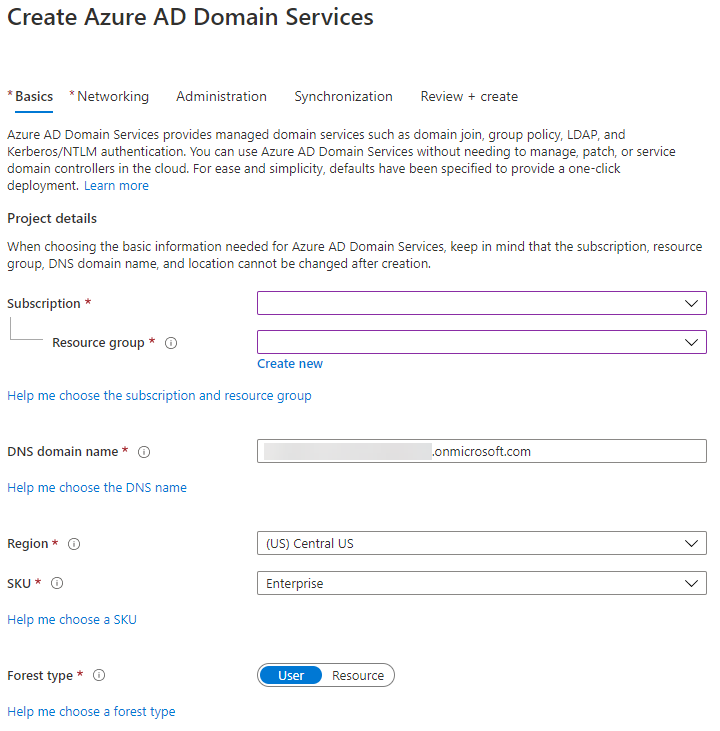
Then enter the DNS domain name. If you are creating a custom domain name please follow the recommendation from Microsoft:
"If you create a custom domain name, take care with existing DNS namespaces. It's recommended to use a domain name separate from any existing Azure or on-premises DNS name space.
For example, if you have an existing DNS name space of contoso.com, create a managed domain with the custom domain name of aaddscontoso.com. If you need to use secure LDAP, you must register and own this custom domain name to generate the required certificates.
You may need to create some additional DNS records for other services in your environment, or conditional DNS forwarders between existing DNS name spaces in your environment. For example, if you run a webserver that hosts a site using the root DNS name, there can be naming conflicts that require additional DNS entries."
There are also some restrictions that apply to the domain name:
- You can't create a managed domain with a prefix longer than 15 characters.
- The DNS domain name for your managed domain shouldn't already exist in the virtual network.
After that, select the region and SKU for your domain. Please read the documentation about the different Azure AD DS SKUs and pricing, then select the one that meets your needs.
Finally, select the Forest type. Typically, you will use a User Forest. A User Forest synchronizes cloud with on-premises users and groups to support LDAP and Kerberos based applications. A Resource Forest only syncs cloud users and groups to support legacy resources hosted in Azure from a trusted domain. Then, click the "Next" button.
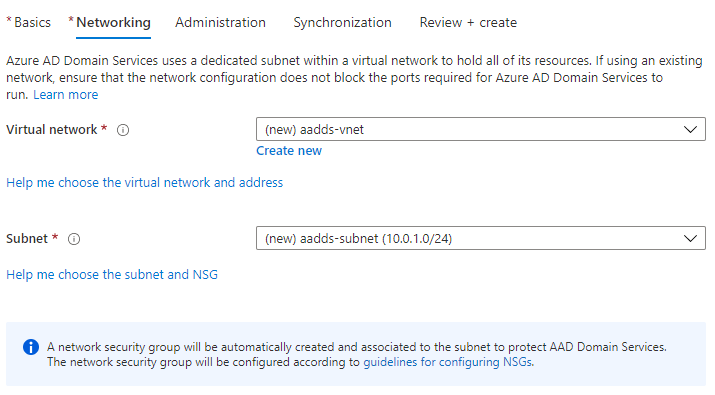
You are now in the Networking section. Select the VNet and subnet where the domain will hold its resources. Domain-joined VMs will get their IP addresses from this subnet. Then, click "Next."
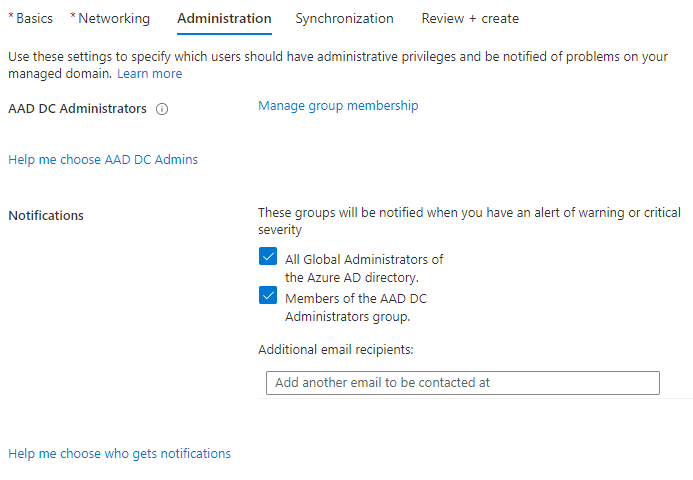
The Administration section is next, select which users (individually or in groups) will have administrative privileges and who will be notified of problems on your domain. Then, click "Next."
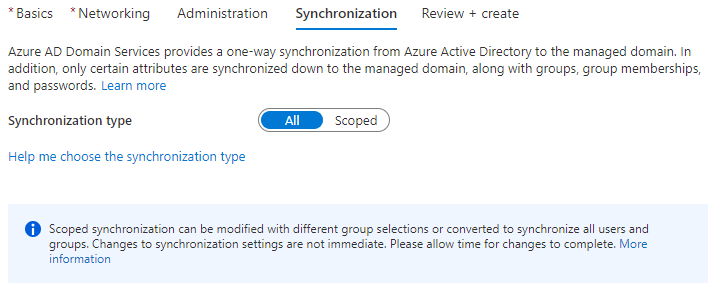
The Synchronization section follows and here you can define what type of synchronization will take place between Azure AD and Azure AD DS. Normally, you would want to synchronize everything, thus selecting "All." But if you have a large directory where only a portion of it will be using Azure AD DS, then use "Scoped" and select the groups that will be allowed to use the managed domain.
Finally, click on "Review + create" and then "Create." It will take a minute or two for the managed domain to be created and then some time while the directory synchronizes. This time varies depending on the size of the directory.
It is important to note that depending on when the managed domain is created, users might need to reset their passwords. If you created the managed domain before adding user accounts (either by replicating with Azure AD Connect or adding new), then this step is not needed. If the managed domain is created after users were added to Azure AD, then password resets will be required for them to work with the managed domain. This is because synchronized credential information in Azure AD can't be re-used. You must reconfigure the password hash synchronization to store the password hashes again. Previously domain-joined VMs or users won't be able to immediately authenticate either, because Azure AD needs to generate and store the password hashes in the new managed domain.
After the managed domain is created and fully synchronized you should be able to create your WVD infrastructure using the credentials from a user with Domain Admin privileges to domain-join the virtual machines.
That is all for how you can set up Azure AD and Azure AD DS to begin implementing your WVD infrastructure. Now, this is just one aspect of the journey and we certainly aren't going anywhere! So if you need some assistance or further guidance with your Azure cloud management or infrastructure solutions, we are here to help!


About the author
Jose R. Guay